Git Explained - Unstage, Unmodify & Undo
Undoing mistakes in git doesn't have to be a headache. With a little know-how, you can learn the ins and outs of each command and save yourself time and pain.
Version control systems are the backbone of collaborative development, ensuring that everyone is working on the same codebase and keeping track of changes. But when things go wrong, Git can be a daunting tool to navigate.
Fear not, however, as there are some powerful commands that can make your life easier. In this post we will dive in and explore some of the features of Git, including my personal favourite: git stash. With the specific knowledge, using git on the command line can be a rewarding experience.
Here are the some of the top commands you’ll want to remember to speed up your development efficiency. They will enable you to try different things quickly and improve your understanding of the nuances of the different git operations.
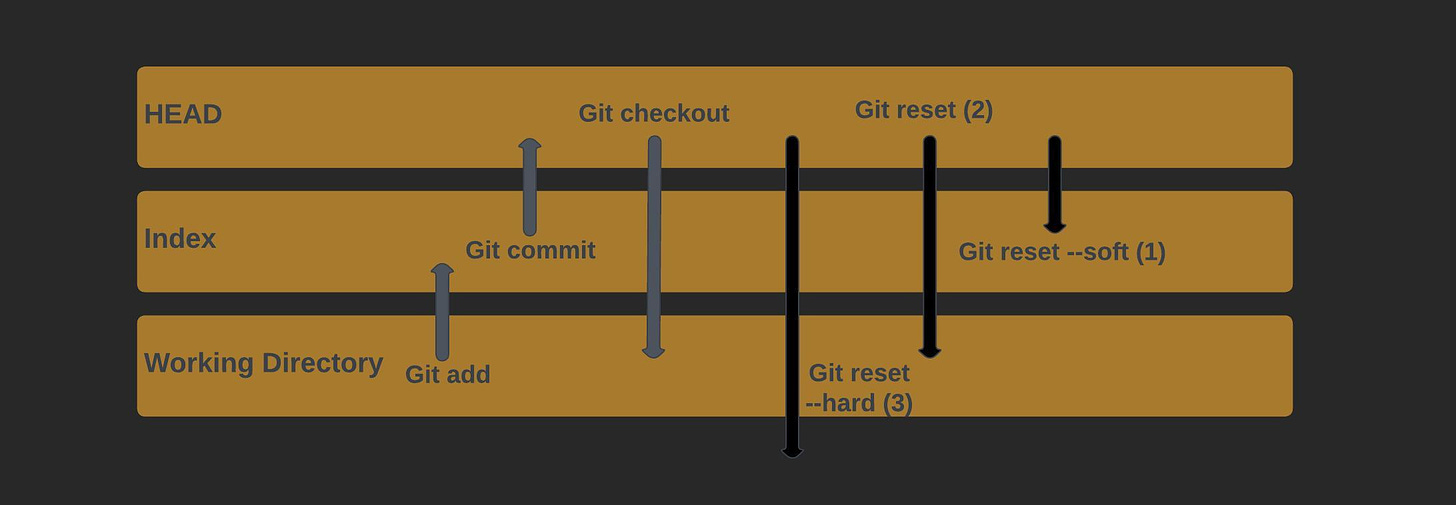
To make sense of the rest of the post, let’s quickly recap the underlying structure of git. There are essentially three parts to git, each considered as a collection of files:
Working directory - your files in your repository where you make changes and save code
Index - files you propose to add to your next commit in the staging area
HEAD - a snapshot of your files from your last commit on a branch
For a more in-depth exploration of git’s workflow, the official documentation does a great job at explaining it; we’ll refer to how these parts change when running certain git commands.
How often have you accidentally added changes to your index, or committed something too early and wanted to undo it? Or maybe you just wanted to rename the commit message to standardise it to your team’s liking. There are several commands you’ll need to use depending on if the file has been committed or not.
Git restoreis a relatively new command that works on uncommitted filesGit resetis the well known command for undoing commitsGit revertis another way of ‘undoing’ a change by reversing the change and applying it as a new commit.
Unstaging Files
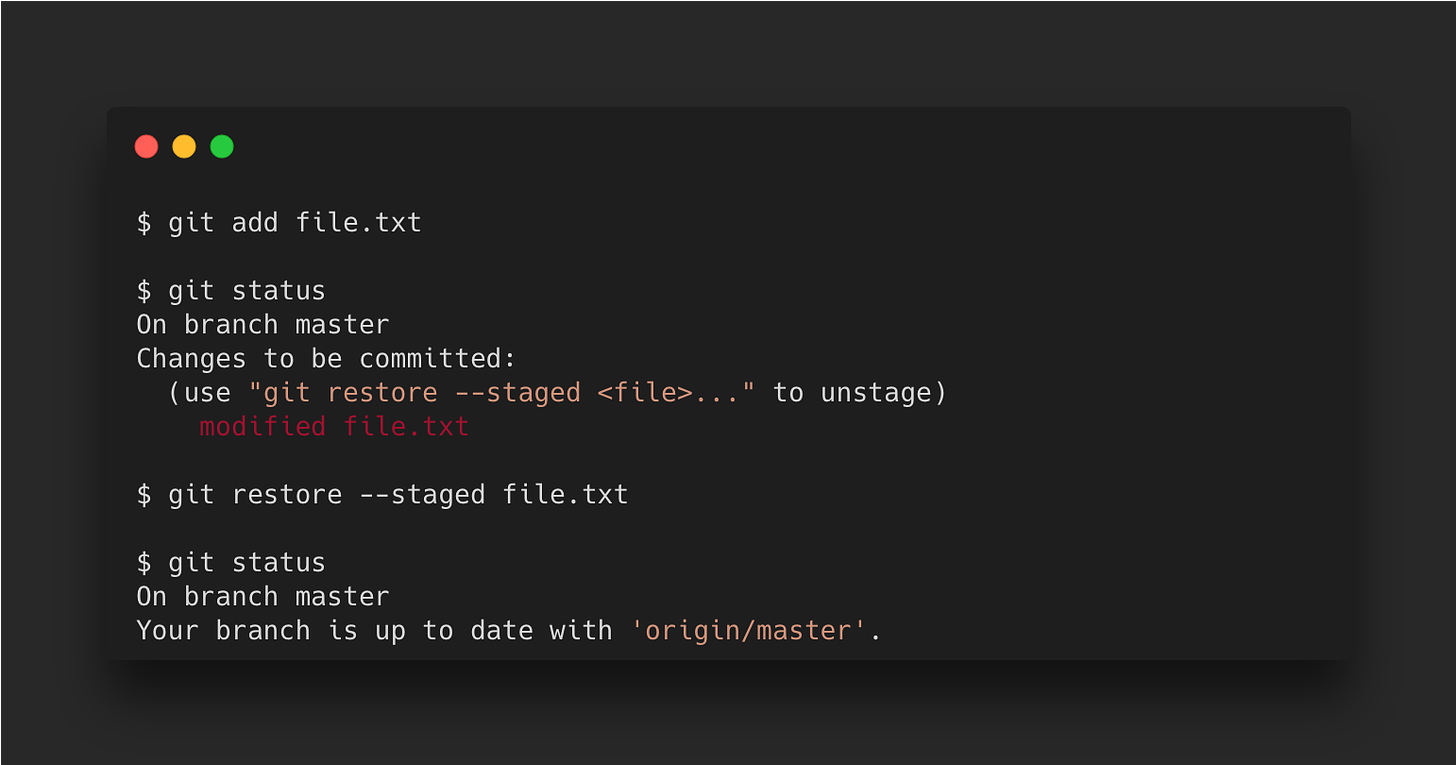
As conveniently provided in the output message of the git status command, you can undo staged files using git restore. Here we add a file named file.txt into our index and then restore it back to our working directory.
Unmodifying Files
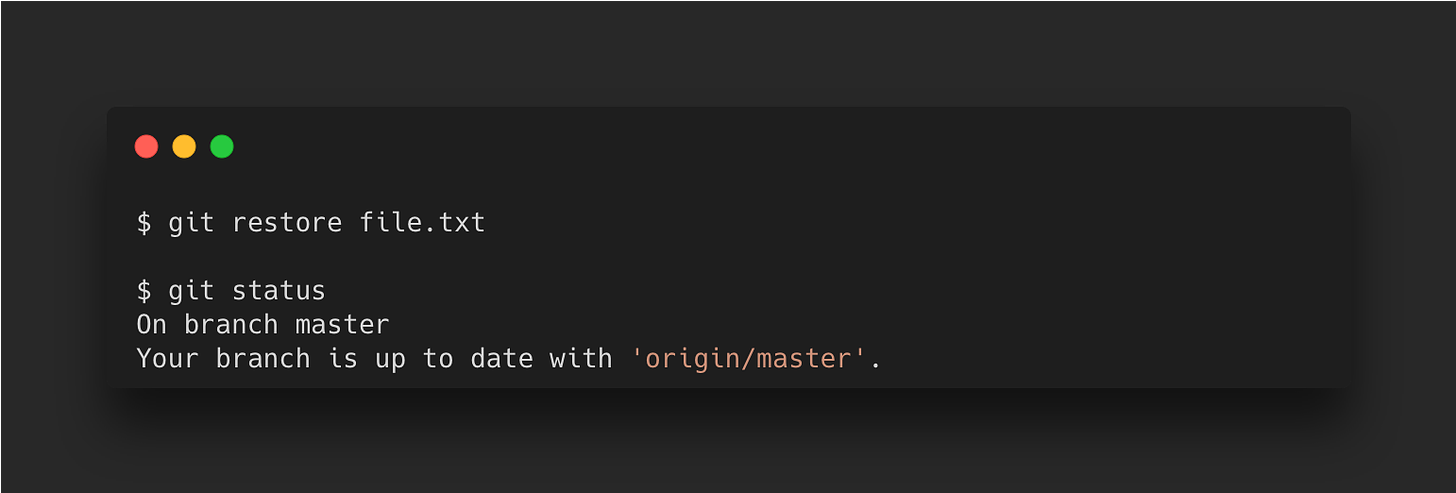
Similarly, with files that you have modified and you no longer want to keep the modifications for, you can perform an irrevocable action to dispose of the modifications. It’s important to understand that any local changes you made to that file will be deleted. In this example, we will restore file.txt to its last committed version.
Changing Commit Messages
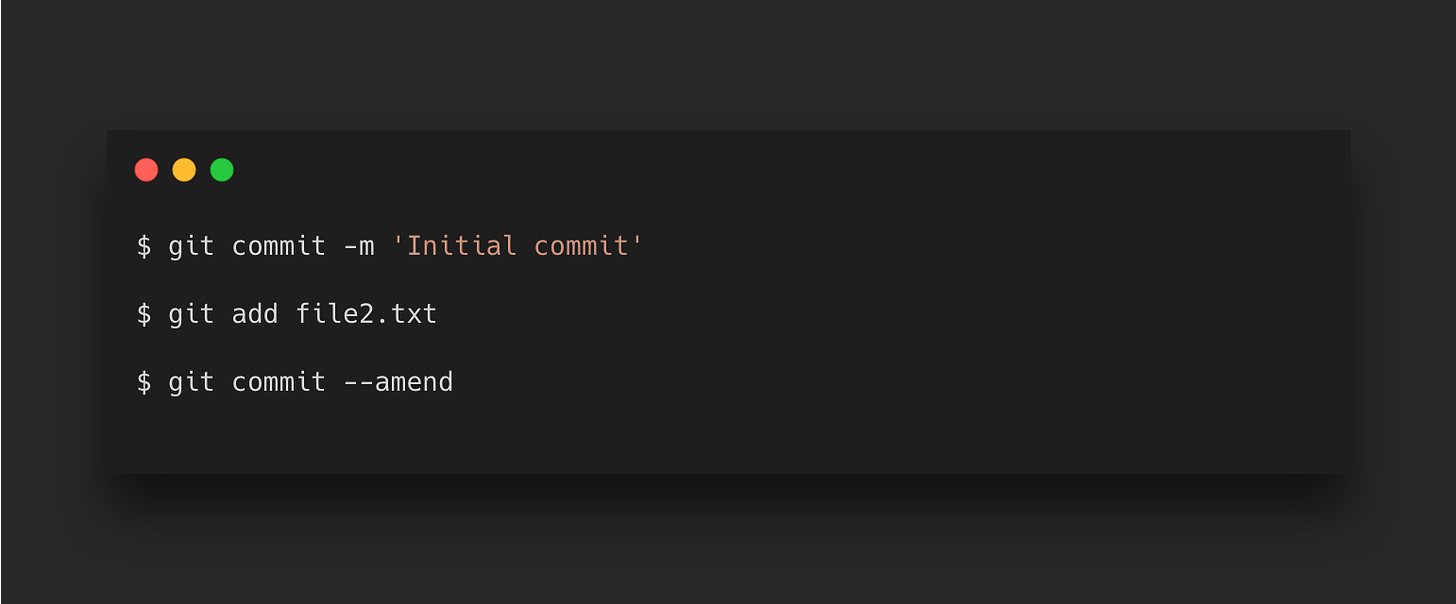
You can undo a recent commit just to alter the commit message or add an extra file that you missed out. Git commit —amend will take your current index and use it for your new commit. As long as this is run immediately after the original commit (and no other changes are made) the commit will be the same, just with the option to alter the commit message. To add more files, first make your changes and add them to the index, then run the command with the amend option.
Only amend commits that are still local and have not been pushed to a central server when working with others as this will cause issues.
Undoing Commits
Undoing a commit can be intimidating if you're unfamiliar with the process, but it is actually quite straightforward once you have a grasp of it. Let's consider the following scenario where the letters represent your commit history with the HEAD pointing to commit C. The empty circle represents the current state of your files.
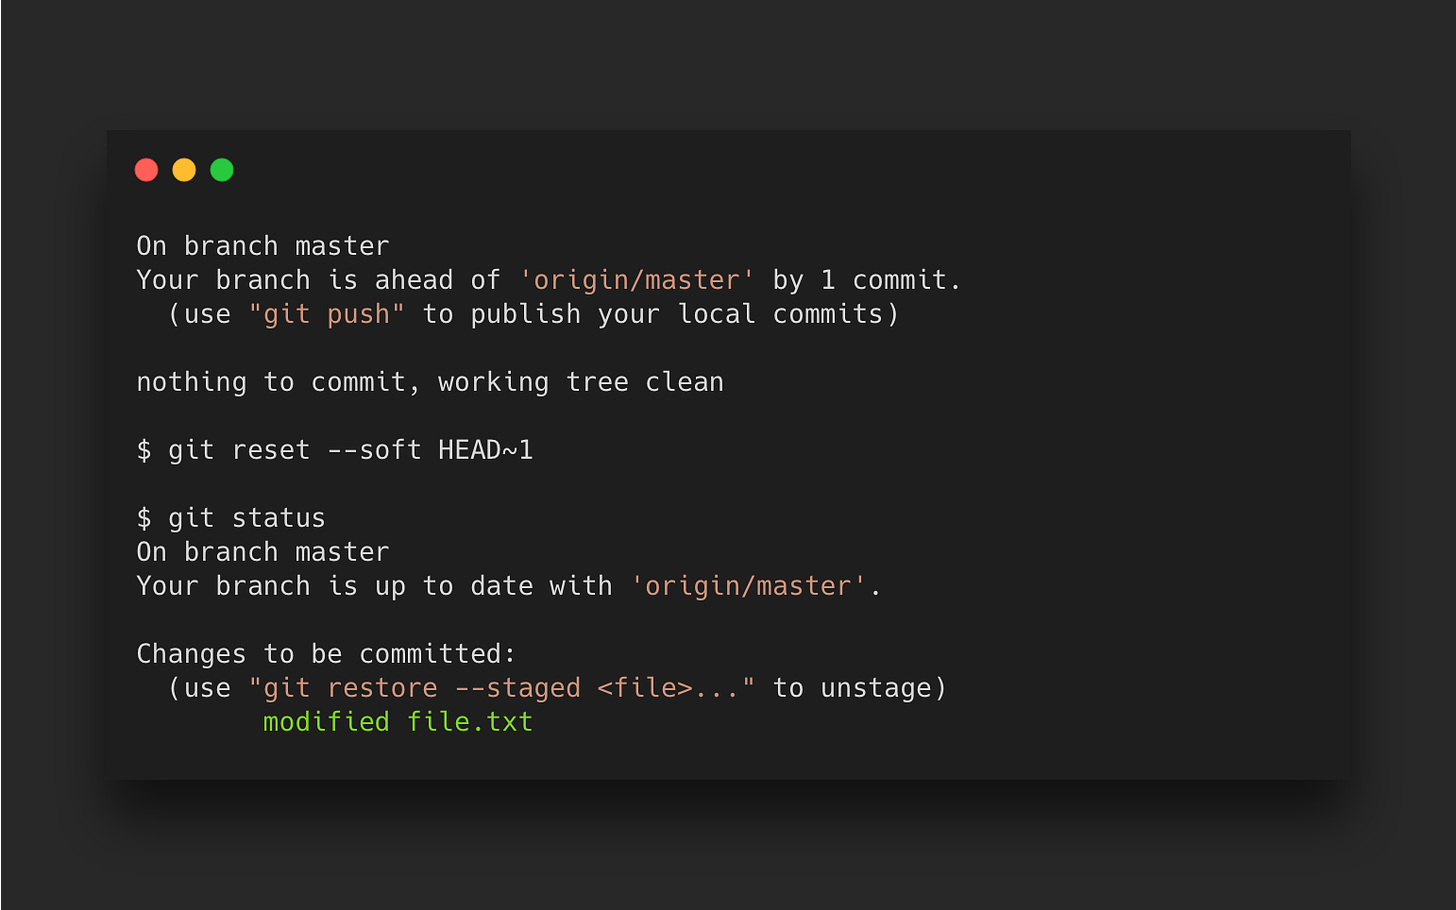
The simplest undo you can perform is a soft
git reset, which will undo your commit, but leave your files unchanged as well as your index. For example, let’s say we committed the file.txt from above and performed agit resetwith the soft option.
From here you can directly run the git commit command again and it will be no different to the previous commit.
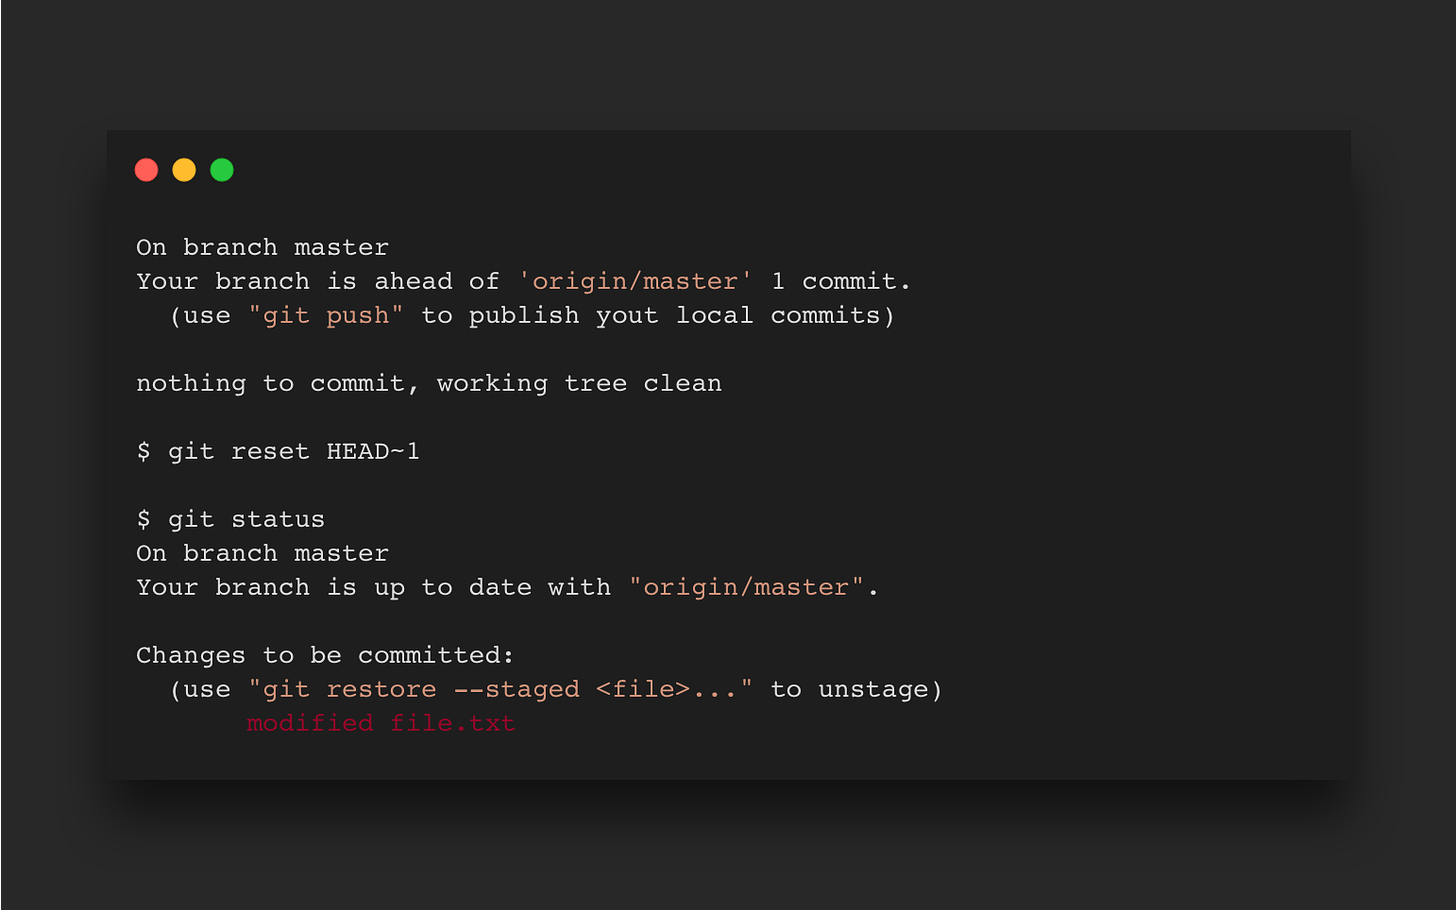
Now let’s say you want to undo commit C and make further edits before adding them to a new commit. This time the index will be changed so you will need to add the files again before committing. This is the default
git resetcommand which is actually runninggit reset —mixed. This will effectively run the first commandgit reset —softas well asgit restore—stagedon the files that were committed.
The result of the default git reset operation is that it moves the HEAD pointer back by one commit, so the master branch is now pointing to B, but the modifications remain as the state of the files at C is untouched.

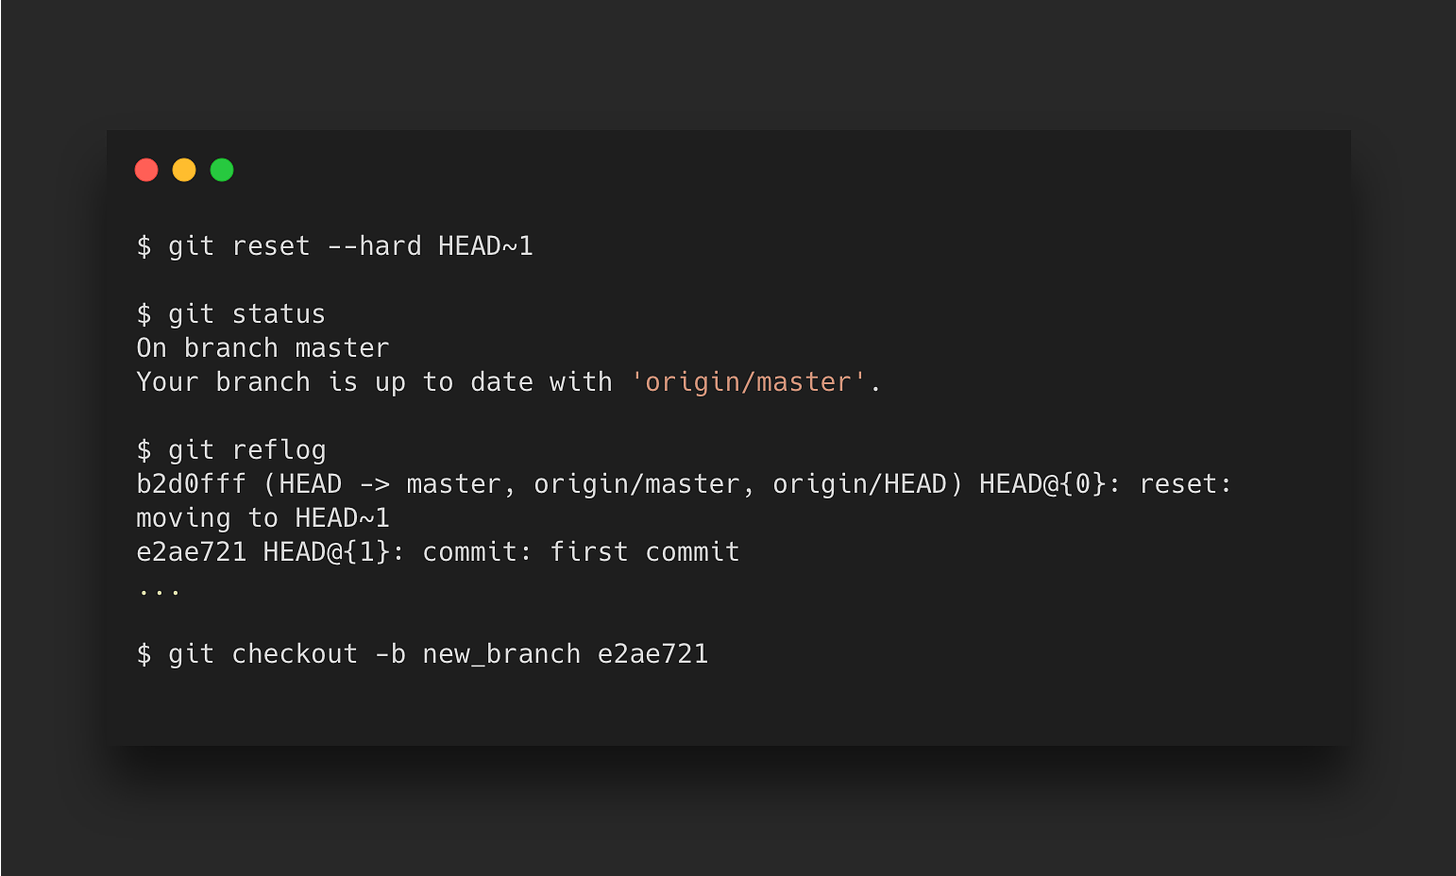
The last option is to throw away commit C entirely and any uncommitted changes by performing a hard
git reset.
The HEAD is now pointing to B and the state of the files have been changed to how they were from the last commit at B.
Unlike the git restore operation that is undoable, commits are cached by default for 30 days and so commit C can still be retrieved. The git reflog command will list the commit hashes which can then be checked out into a new branch. For example, let’s say we wanted to retrieve file.txt that we have done a hard git reset on.
We will now have a new branch pointing back to commit C that was undone by the previous hard git reset option.
As with the git commit amend option, undoing any commit that has already been pushed to a central server will introduce problems for others working on the same codebase as these commits will no longer exist for you only.
In these cases, you would want to make it clear that a change was undone by reverting your commits instead, so that others are not confused with merge commits required to synchronise the repository.
Reverting Commits
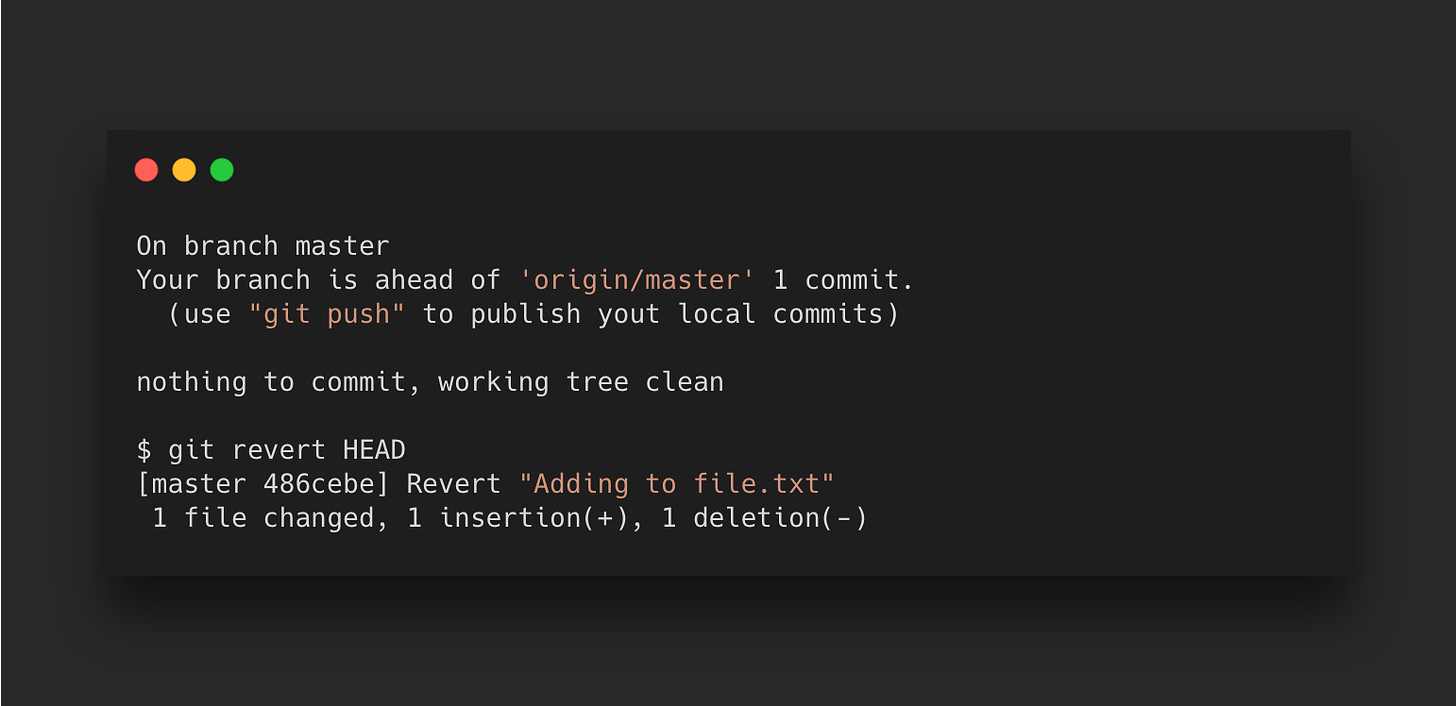
The git revert command effectively undoes a commit by figuring out how to reverse the change that was originally made and apply a commit for that, all without changing the history. Any resulting changes will appear as a crossed out commit on the central server so that your team members can understand the purpose of this additional commit.
Git revert expects a commit ref when used as it can be applied to any commit at an arbitrary point in the history, compared to git reset that can only work backward from the current commit.
Stashing Changes
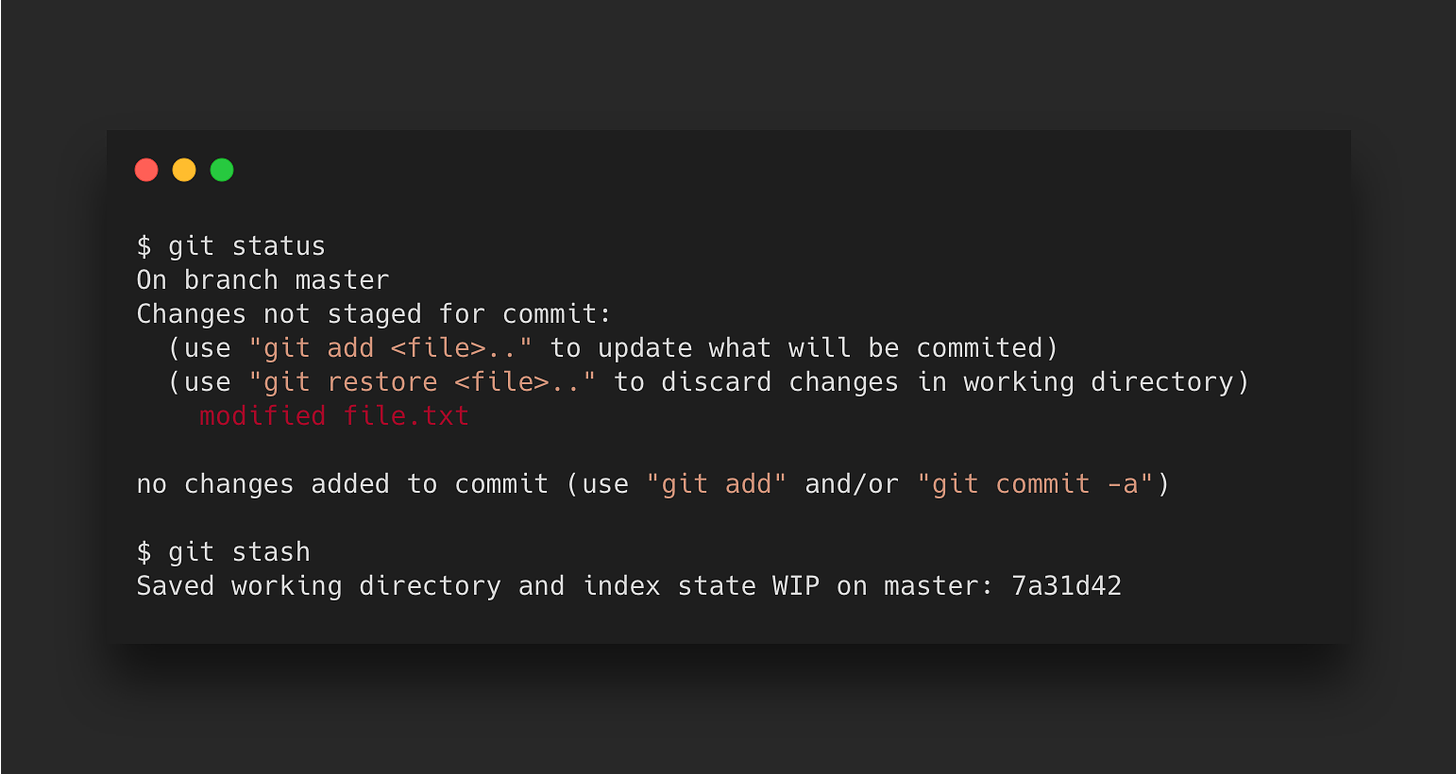
Git stash works wonders when you want to quickly try something else with your code while keeping a snapshot of your current working directory and the index, whether they have been staged for commit or not. The command saves your local modifications away and reverts the working directory to match the HEAD commit.
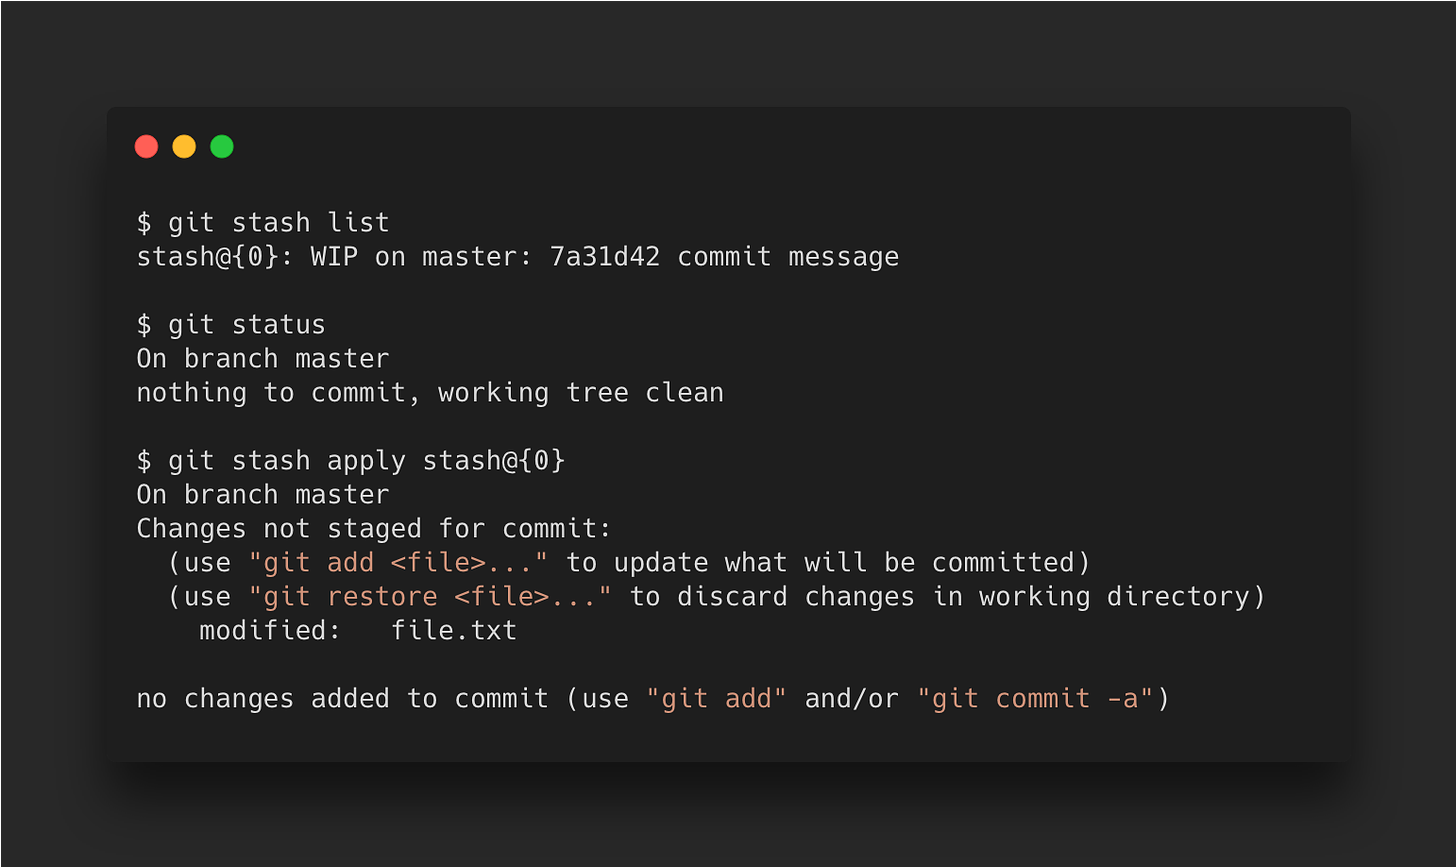
It will keep a copy of your modifications which you can then view or apply back to your working directory. For example, let’s say you are editing a file named file.txt and you decide to ‘undo’ the changes temporarily. You can save the current working directory state and it will be added to the stash list.
git stash list- List all stashes that you have saved
To apply the changes back to your working directory, there are two options.
git stash apply- Apply the most recent stash to your working directory or optional supplied stash namegit stash pop- Apply the most recent stash and remove it from the stash list
Finally, you can also remove the most recent stash or all stashes from the stash list:
git stash drop- Remove the most recent stash from the stash listgit stash clear- Remove all stashes from the stash list
Closing Thoughts
Git is an essential tool for development teams, but it can be overwhelming when there are multiple ways of doing what seems to be the same thing from the surface. Exploring these powerful commands in depth will give you confidence to use them when you need to temporarily save changes with git stash. undo commits with git reset or undo pushed commits with git revert so the team can see what has been removed. By mastering these commands, you can become a more efficient and effective developer.


